How to install OpenStackClient on Windows using Windows Subsystem for Linux on 3Engines Cloud OpenStack Hosting🔗
In this tutorial, you will control your OpenStack environment in a deeper and more precise way using the CLI (Command Line Interface). Of course, you can use the Horizon GUI (Graphical User Interface) running in your browser, but the CLI includes additional features like the ability to use scripts for more automated management of your environment.
The instructions for installing Windows Subsystem for Linux are based on the official Windows documentation found at https://learn.microsoft.com/en-us/windows/wsl/.
What We Are Going To Cover🔗
- Installing Windows Subsystem for Linux on Microsoft Windows
- Installing the OpenStack CLI client and authenticating
Prerequisites🔗
No. 1 Hosting
You need a 3Engines Cloud hosting account with Horizon interface https://horizon.3Engines.com.
No. 2 Computer running Microsoft Windows
Your computer must be running Microsoft Windows. This article is written for Windows Server 2019 version 1709 or later. The instructions for the following versions are linked in the appropriate location of this article:
- Windows 10 version 1903 up to and excluding version 2004
- Windows 10 version 2004 or later (Build 19041), Windows 11
- Windows Server 2022
No. 3 Optional – software for 2FA authentication
Your account at 3Engines Cloud cloud may have two-factor authentication enabled. It means that apart from the usual username and password combination, you also need software to generate the TOTP – the six-digit code for the additional, second step of authentication. This article will provide additional technical details: How to activate OpenStack CLI access to 3Engines Cloud cloud using one- or two-factor authentication.
Step 1: Check the version of Windows🔗
Right-click on your start menu and left-click “System”.
A screen will appear in which you will see the version of your Microsoft Windows operating system. Memorize it or write it somewhere down.
Step 2: Install Ubuntu on Windows Subsystem for Linux🔗
Note
The following instructions from this step are for Windows Server 2019 version 1709 or later. If you are running a different operating system, please follow the instructions found under the appropriate link and skip to Step 3:
- Windows Server 2022 - https://learn.microsoft.com/en-us/windows/wsl/install-on-server section Install WSL on Windows Server 2022
- Windows 10 version 1903 up to and excluding version 2004 - https://learn.microsoft.com/en-us/windows/wsl/install-manual
- Windows 10 version 2004 or later (Build 19041), Windows 11 - https://learn.microsoft.com/en-us/windows/wsl/install
Enter the following website: https://learn.microsoft.com/en-us/windows/wsl/install-manual#downloading-distributions. Download Ubuntu 20.04 using the provided link. This tutorial assumes that your browser saved it in your Downloads directory - if that is not the case, please modify the instructions accordingly.
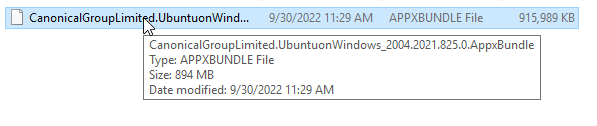
Locate the downloaded file:
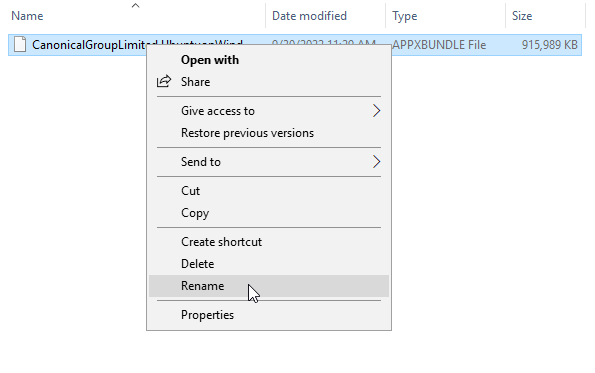
Right-click it and select the option Rename.
Rename the downloaded file to Ubuntu.zip:
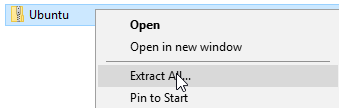
Right-click the file and select Extract All….
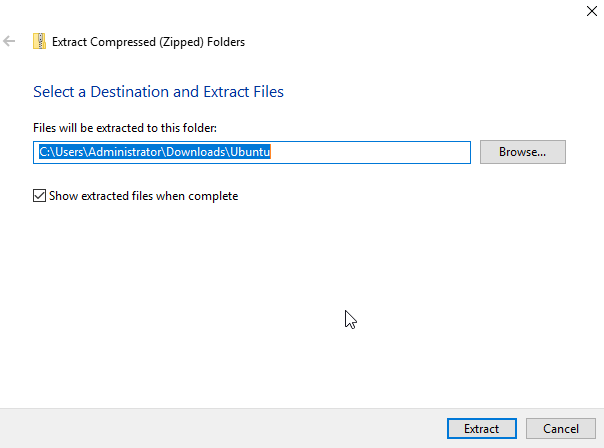
In the wizard that appeared do not change any options and click Extract:
A directory called Ubuntu should have appeared:

Enter that folder and view its content:
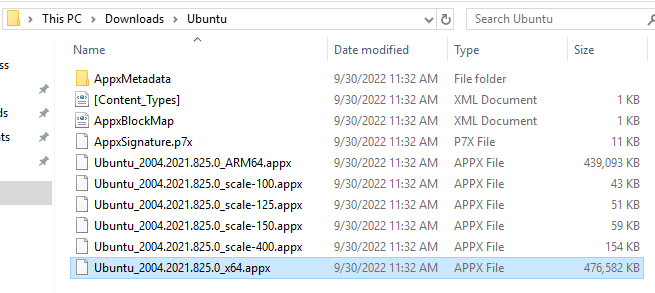
Memorize or write somewhere down the name of the .appx file which ends with x64.
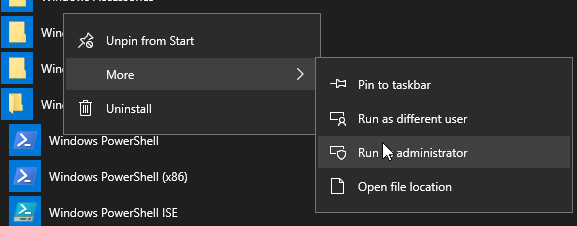
Open your Start menu. Right-click the entry Windows PowerShell and select Run as administrator:
In the displayed window type the following command and press Enter:
The following progress bar should have appeared:

After the end of the process you will be asked if you want to restart your computer to complete the operation:

Make sure that the restart will not cause any disruptions and press Y to restart.
During the reboot you will see the following process message:

Once the reboot is completed, start the PowerShell again as described previously.
Run the following command (replace Ubuntu.appx with the name of your .appx file which you memorized or wrote somewhere down previously):
During the process, you will see the status bar similar to this:

Once the process is finished, execute the following command (replace the C:\Users\Administrator\Ubuntu path with the location of your Ubuntu folder):
$userenv = [System.Environment]::GetEnvironmentVariable("Path", "User")
[System.Environment]::SetEnvironmentVariable("PATH", $userenv + ";C:\Users\Administrator\Ubuntu", "User")
Your newly installed Ubuntu should appear in your Start menu:

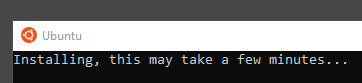
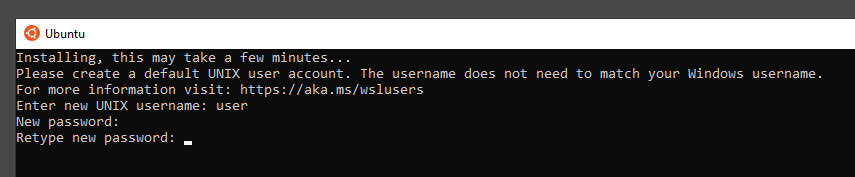
Run it. You will see the following message:
Wait until this process finishes. After that, you will get a prompt asking you for your desired username (which is to be used in the installed Ubuntu):

Type it and press Enter. You will now be asked to provide the password for that account:

Note
Your password will not be visible as you type, not even as masking characters.
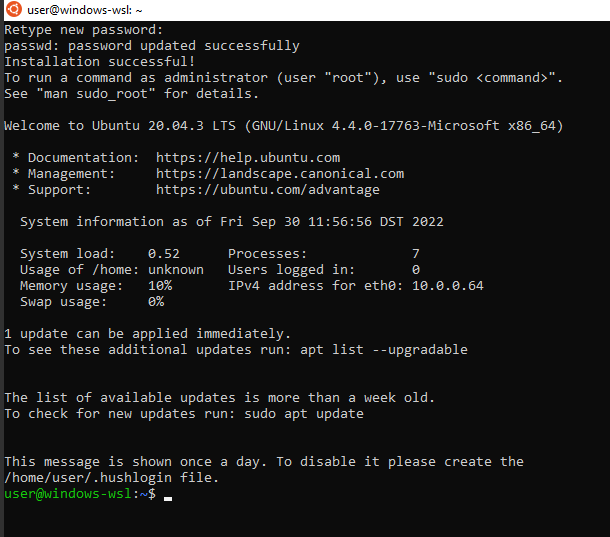
Input your password and press Enter. You will then be asked to type it again:
If you typed the same password twice, it will be set as the password for that account. You wil get the following message as confirmation:

Wait for a short time. Eventually your Linux environment will be ready:
Step 3: Install OpenStack CLI in an isolated Python environment🔗
Now that you have installed Windows Subsystem on Linux running Ubuntu on your Windows computer, it is time to install OpenStack CLI.
Update the software running on your Ubuntu:
Once the process is finished, install the python3-venv package to create a separate Python environment:
Create a virtual environment in which you will have OpenStack CLI installed:
Enter your new virtual environment:
Upgrade pip to the latest version:
Install the python-openstackclient package:
Verify that the OpenStack CLI works by viewing its help:
If the command shows its output using a pager, you should be able to use the arrows (or vim keys - J and K) to scroll and Q to exit.
If everything seems to work, time to move to the next step - authentication to your user account on 3Engines Cloud.
Step 4: Download your OpenStack RC File🔗
Login to 3Engines Cloud hosting account with Horizon interface https://horizon.3Engines.com.
Click on your username in the upper right corner. You will see the following menu:
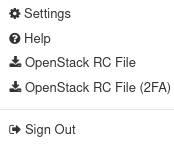
If your account has two factor authentication enabled, click the option OpenStack RC File (2FA). If, however, it does not have it enabled, use the OpenStack RC File option.
The RC file will be downloaded. Memorize or write somewhere down the name of that file. Move this file to the root location of your C: drive.
Step 5: Move the RC file to your Ubuntu environment🔗
Return to your Ubuntu window.
You will now copy your RC file to your Ubuntu environment. Since Windows Subsystem for Linux mounts the C: drive under /mnt/c, the command for copying your RC file to your Ubuntu environment is as follows (replace main-openrc.sh with the name of your RC file):
If your account uses two-factor authentication, you will need jq to activate access to your cloud environment. To install jq, execute:
Now use the source command on this file to begin the authentication process (replace main-rc.sh with the name of your RC file):
You will see the prompt for password to your 3Engines Cloud account. Type your password there and press Enter (the password is still being accepted even if you do not see the characters being typed).
If your account has two factor authentication enabled, you will also see the prompt for your six-digit code. Open software which you use for generating such codes (for example KeePassXC or FreeOTP) and find your code there, as usual. Make sure that you enter it before it expires. If you think that you will not manage to enter your current code, wait until a new one is generated.
After having entered your code, press Enter.
Now you can test whether you have successfully authenticated by listing your VMs:
How to run this environment later?🔗
If you close the window with Ubuntu and reopen it, you will see that you are no longer in the openstack_cli environment you created and thus no longer have access to OpenStack. You will need to reenter the openstack_cli environment and reauthenticate.
After reopening the Ubuntu Window, execute the source command on the file used for entering you openstack_cli environment, just like previously:
Now, reauthenticate by invoking the source comand on your RC file (replace main-openrc.sh with the name of your RC file):
Type your password and press Enter. You should now be able execute the OpenStack CLI commands as usual.
What To Do Next🔗
After installing the OpenStack CLI client and activating your new RC file, you can use other articles to perform operations on 3Engines Cloud cloud:
How to create a set of VMs using OpenStack Heat Orchestration on 3Engines Cloud
Generating and authorizing Terraform using Keycloak user on 3Engines Cloud
How to upload your custom image using OpenStack CLI on 3Engines Cloud
How to create a VM using the OpenStack CLI client on 3Engines Cloud cloud
How To Use Command Line Interface for Kubernetes Clusters On 3Engines Cloud OpenStack Magnum